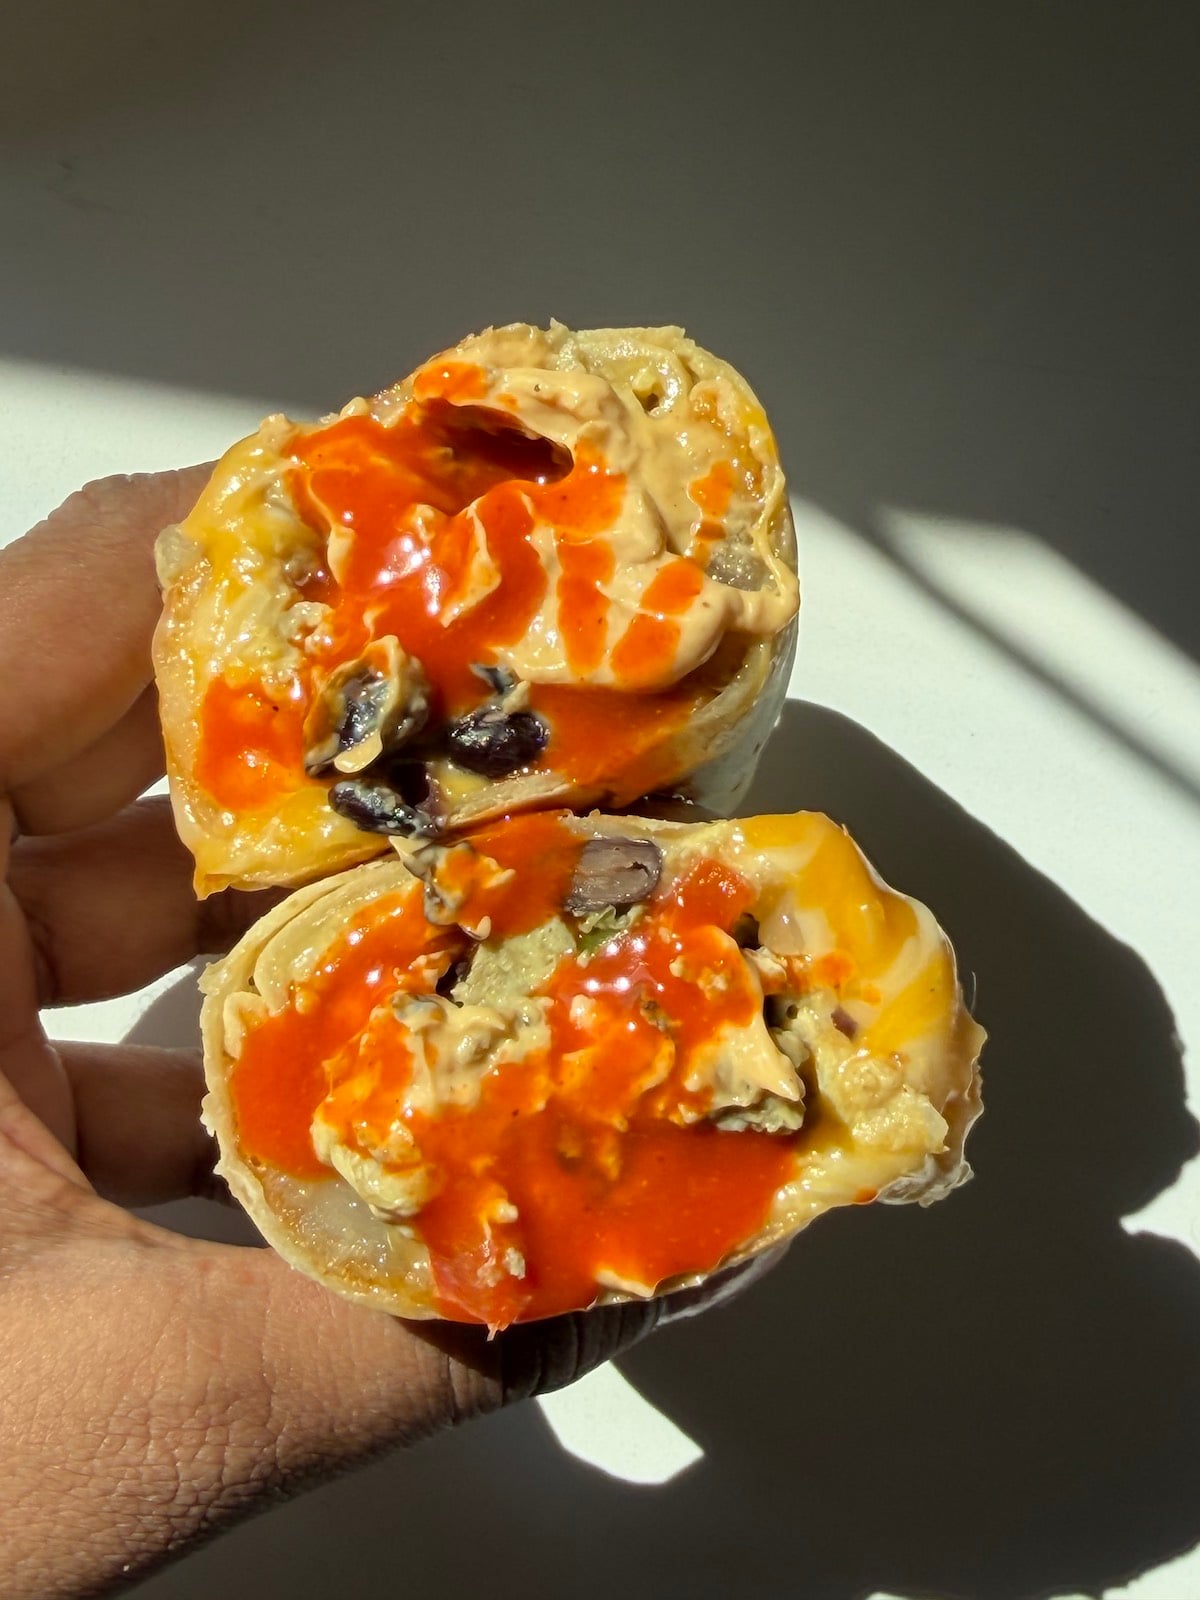
These easy, high-protein freezer breakfast burritos have quickly become one of my favorite meal prep breakfasts! They’re packed with eggs, crispy potatoes, black beans, peppers, onions, and plenty of cheese, then frozen for an easy breakfast I can grab on busy mornings.
And the best part – the eggs are cooked quickly and easily on the stove top. I prefer this method so much better than steaming the eggs in a baking tray in the oven; I’ve seen other recipes do this and I think it adds a lot of unnecessary time and effort to this dish.
And if you’re looking for more easy breakfast recipes you can batch, check out my tiramisu overnight oats, egg and pesto freezer breakfast sandwiches, and my chocolate brownie batter overnight oats!
Key Ingredients and Why They Matter
- Flour tortillas: Use large burrito-size tortillas so there’s enough room for the filling without tearing. Soft, pliable tortillas are also much easier to roll and freeze.
- Eggs: The eggs make these burritos filling and add plenty of protein. Cook them just until set so they stay soft after reheating.
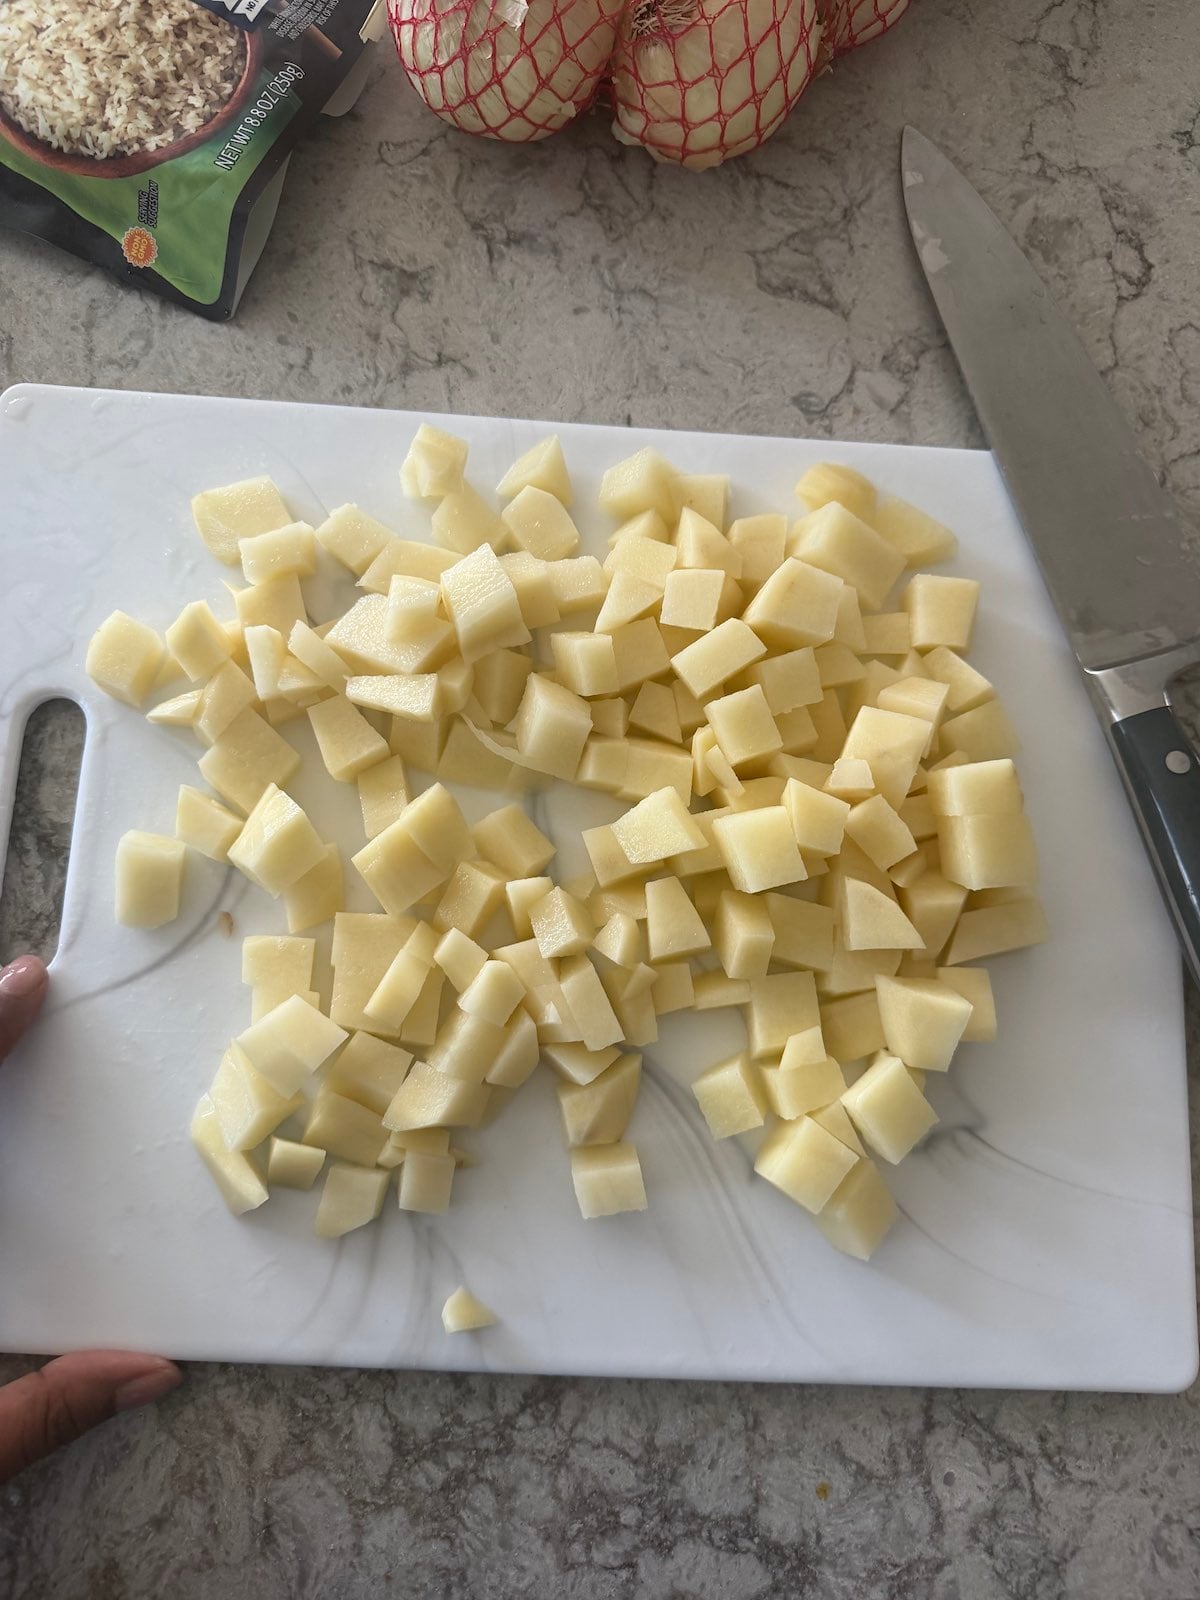
- Potatoes: Potatoes make the burritos extra hearty and give the filling a satisfying texture. Cutting them into small pieces helps them cook quickly and evenly.
- Black beans: Black beans add more protein and fiber while making the burritos substantial enough to keep you full throughout the morning.
- Bell peppers and onions: These add color, texture, and a slightly sweet, savory flavor that balances the eggs and potatoes.
- Reduced-fat Mexican cheese: A Mexican cheese blend melts easily and adds plenty of flavor without making the burritos feel too heavy.
- Seasonings: Old bay + taco seasoning + salt. Old Bay gives the air-fried potatoes a salty, savory flavor with a little warmth. Taco seasoning adds flavor to the beans, vegetables, and eggs, tying the entire filling together.
How to Make Freezer Breakfast Burritos
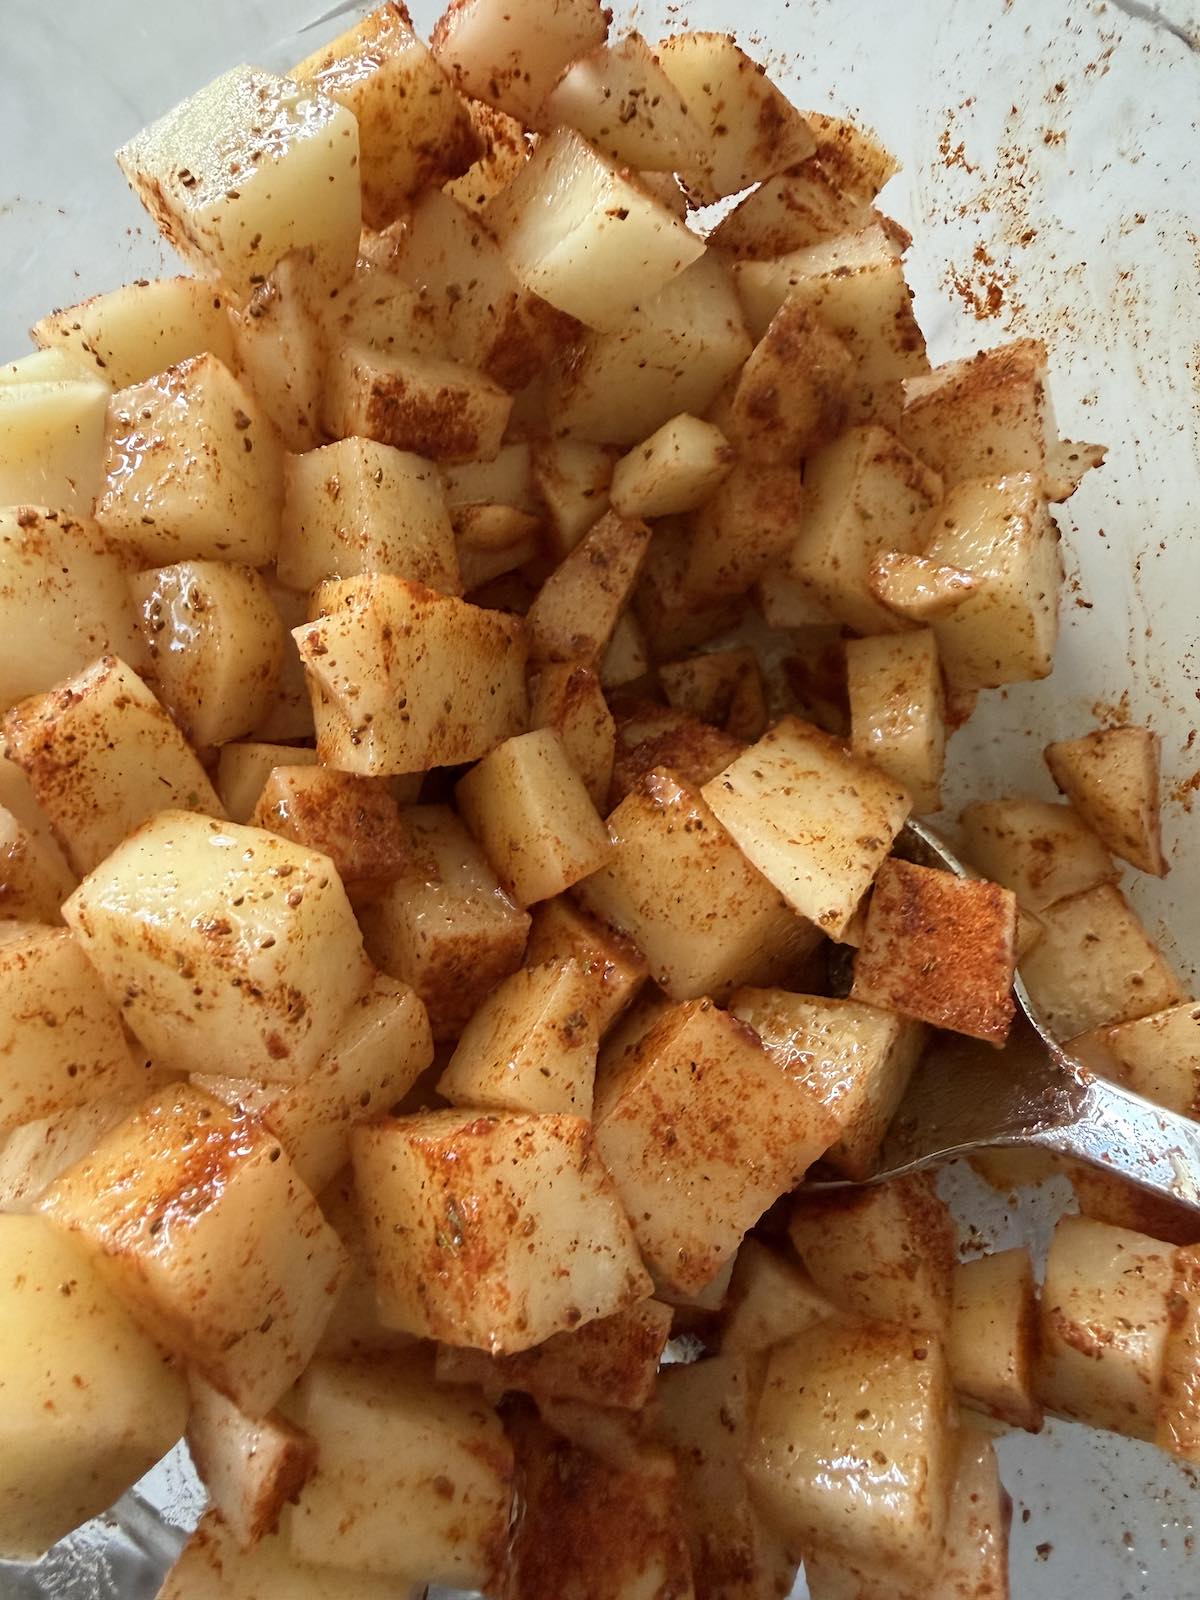
- Air fry the potatoes: Dice the potatoes into small, even pieces, then toss them with oil and Old Bay seasoning. Air fry at 400°F for 20 minutes, shaking the basket halfway through, until golden and tender.
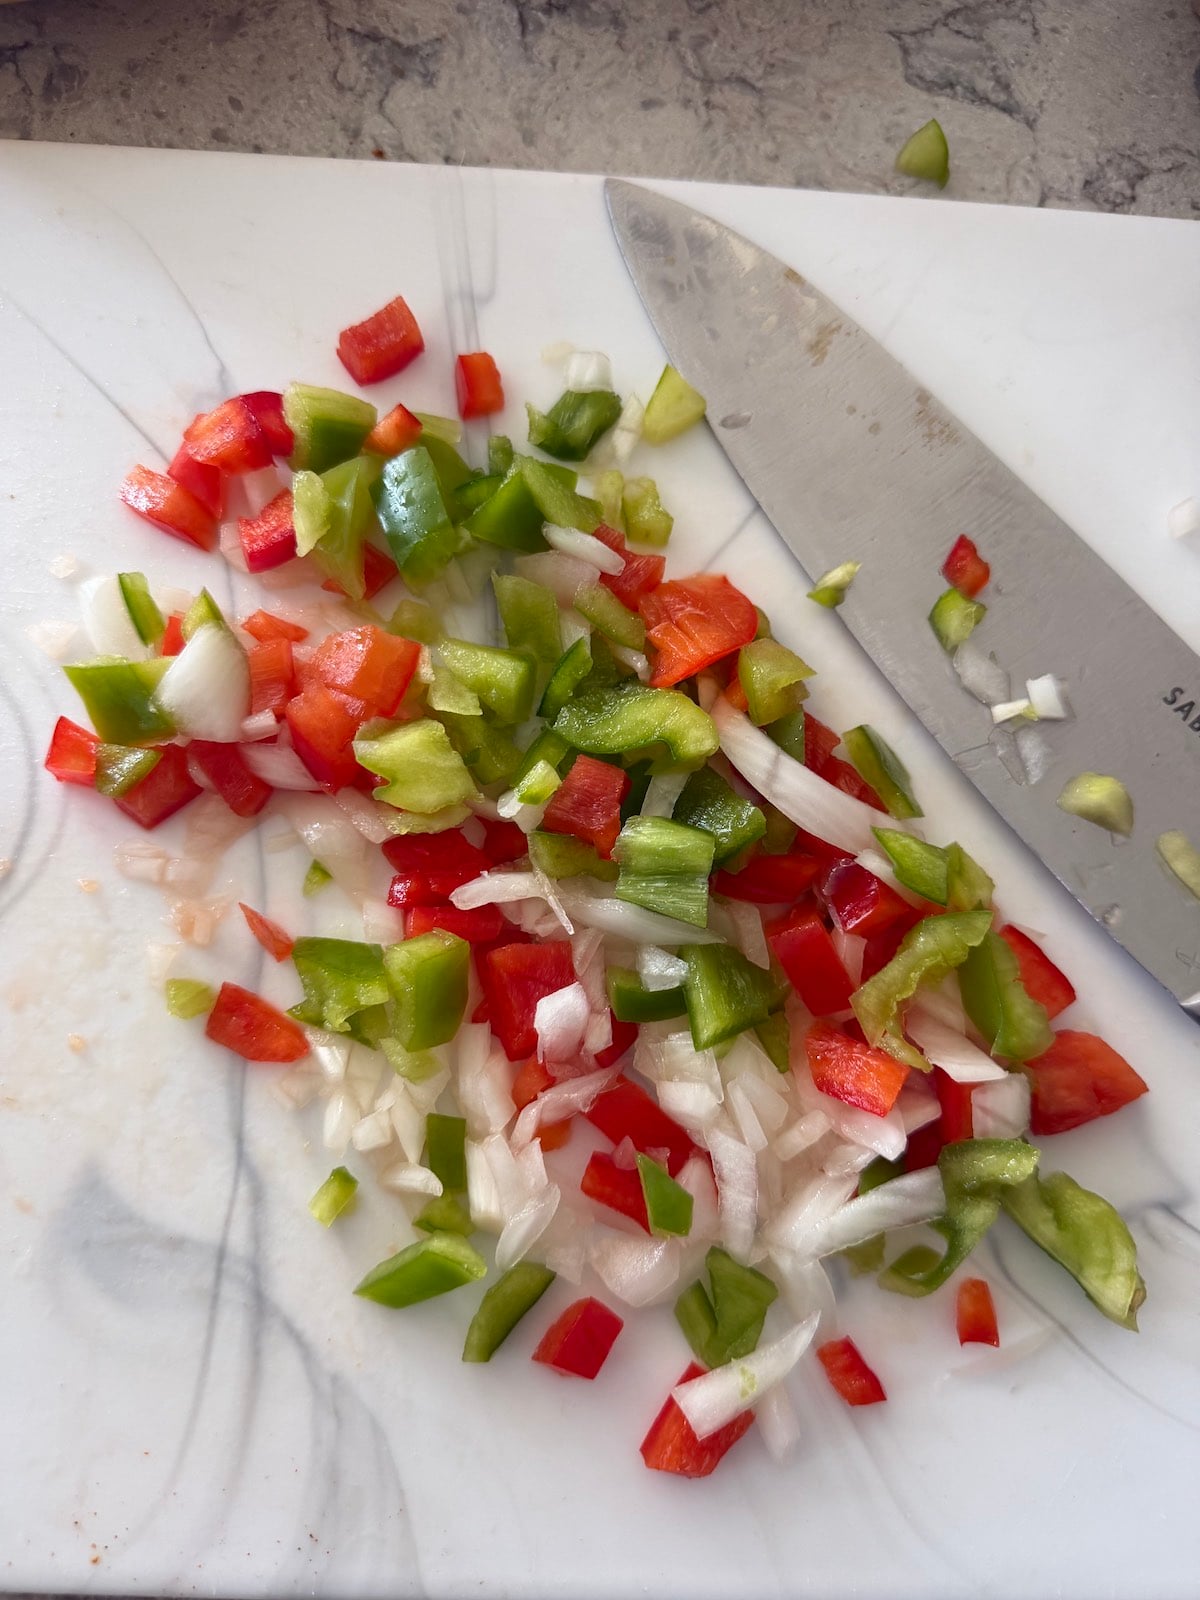
- Sauté the vegetables: Heat a little oil in a large skillet, then add the chopped bell peppers and onions. Cook until softened and lightly browned.
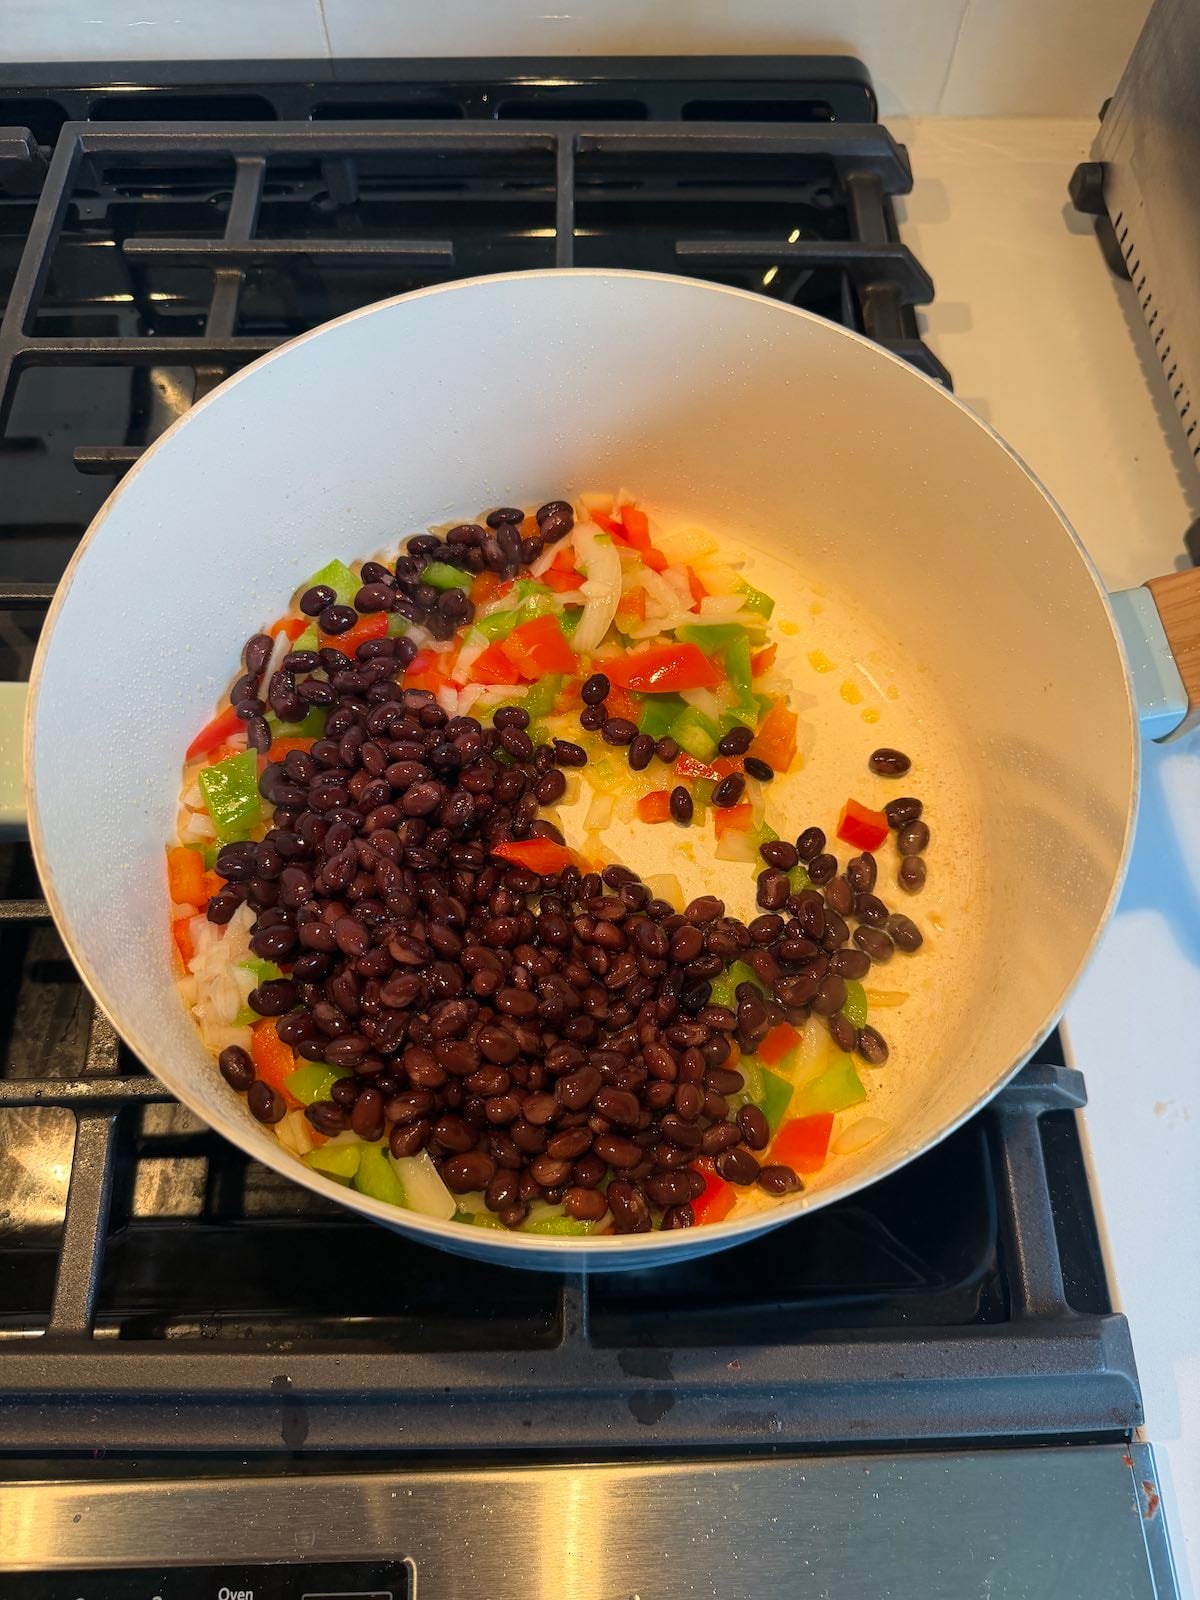
- Add the beans: Stir in the drained black beans and taco seasoning. Cook for another 2–3 minutes, until the beans are warmed through.
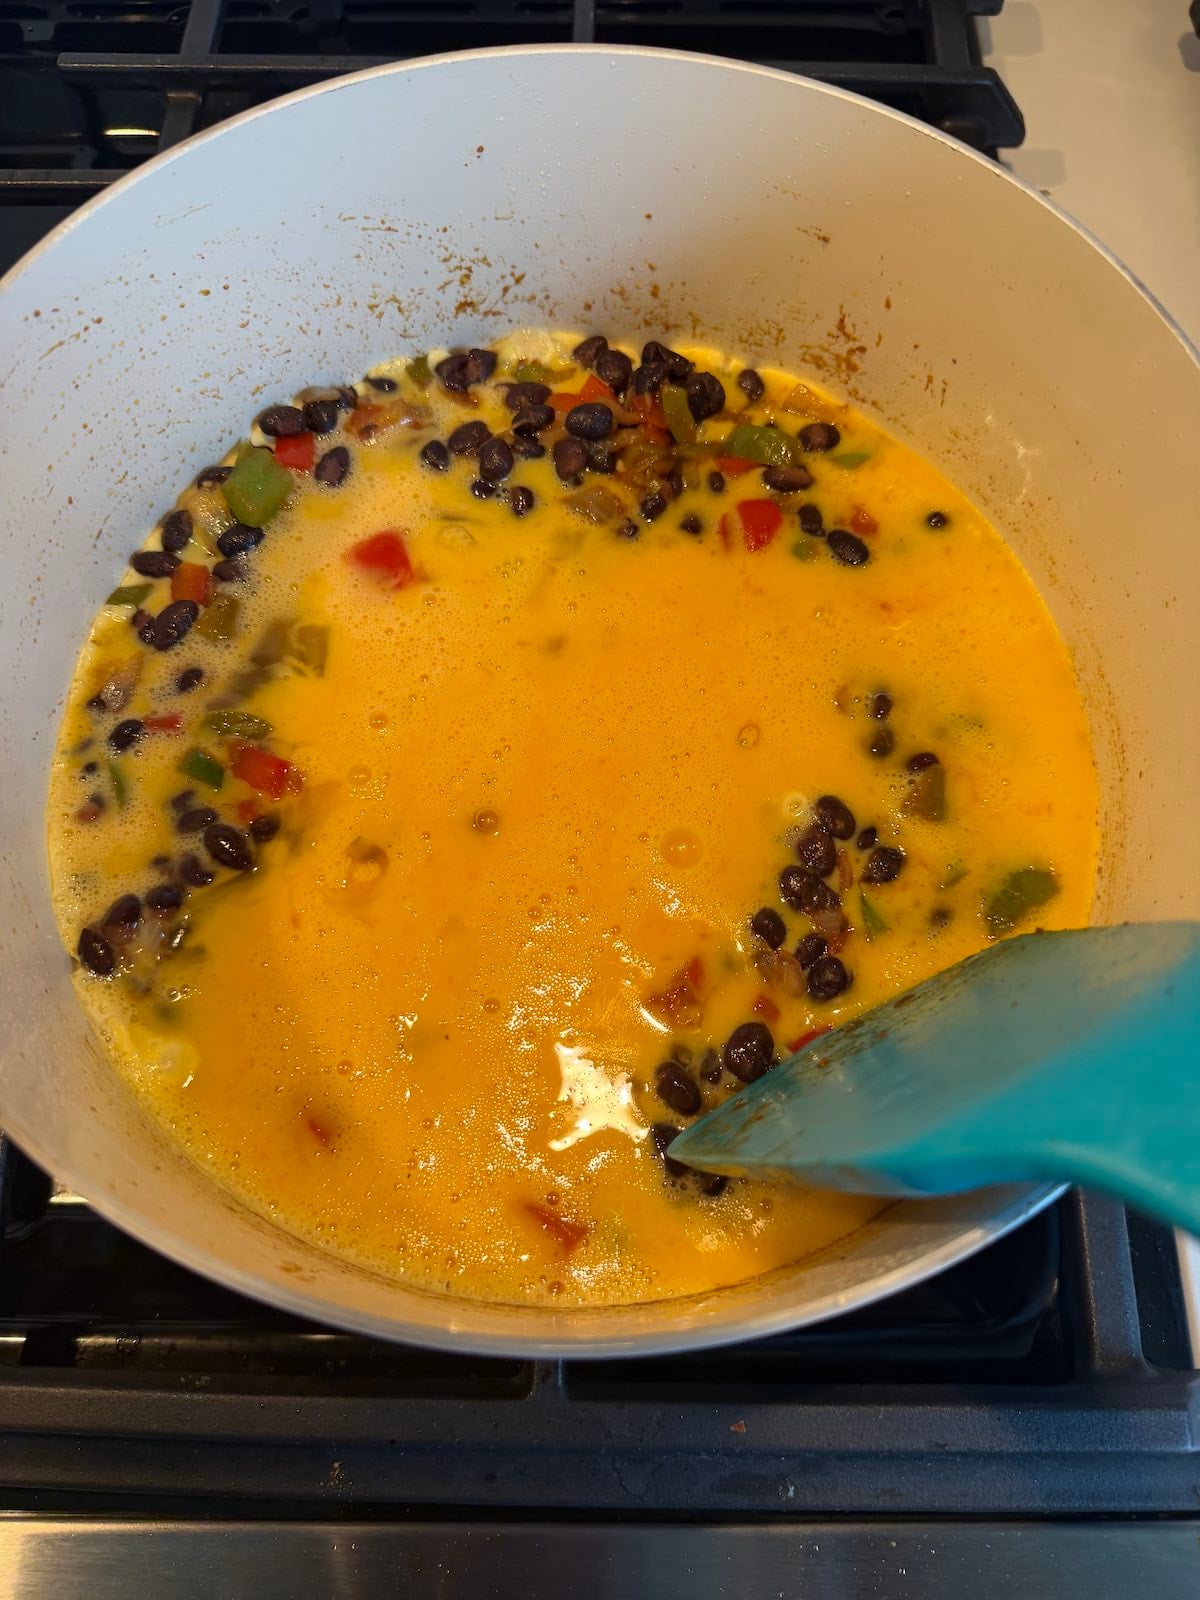
- Cook the eggs: Add the eggs directly to the skillet and gently scramble them with the vegetables and beans until just set. You can also cook the eggs separately if you prefer larger, fluffier pieces.
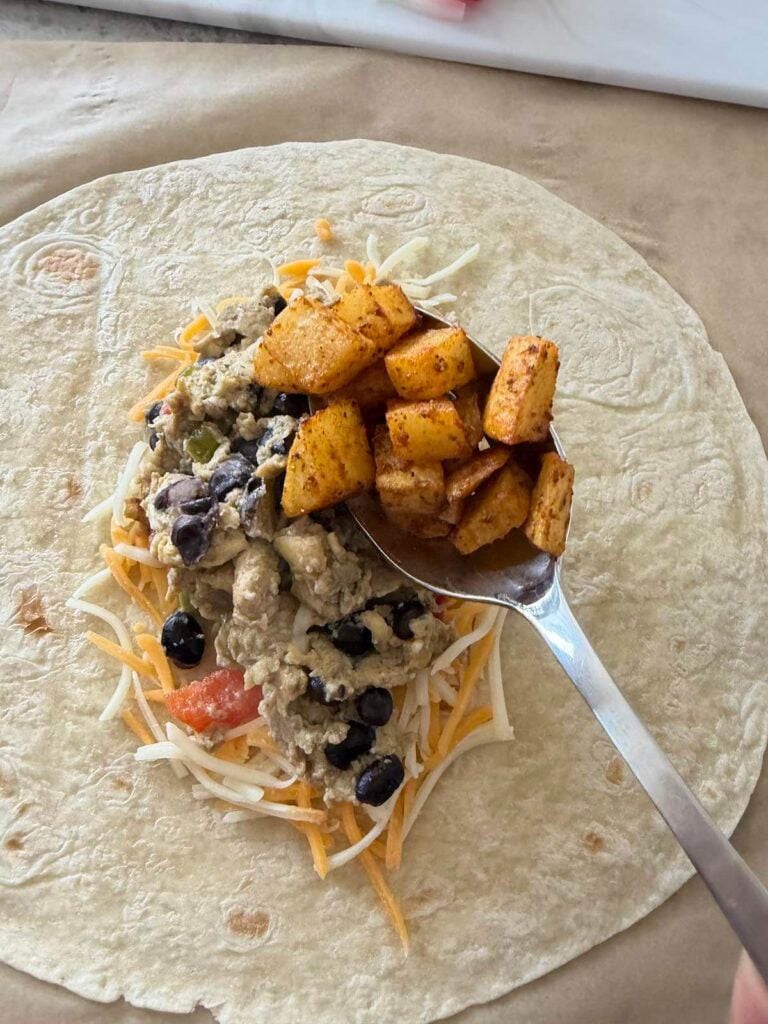
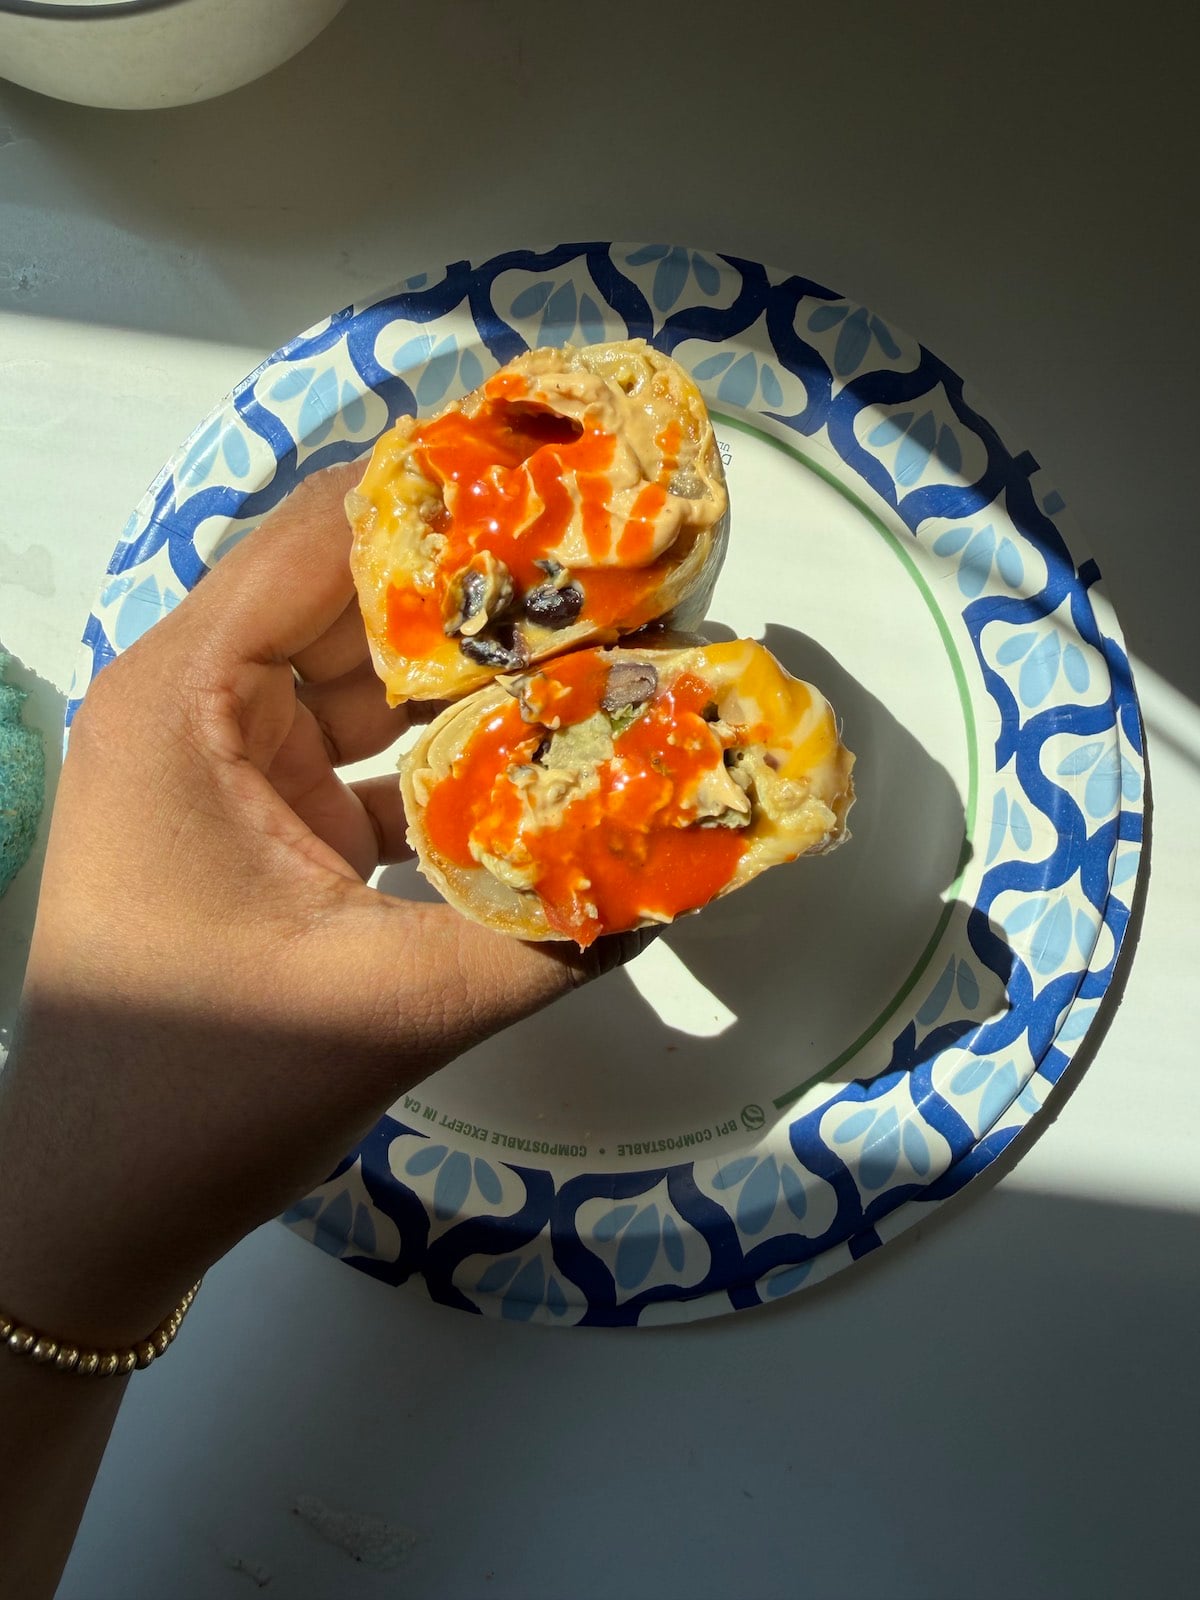
- Assemble the burritos: Divide the potatoes, egg mixture, and shredded cheese between the tortillas. Fold in the sides, roll each tortilla tightly, and place it seam-side down. Serve with some chipotle mayo and plenty of hot sauce!
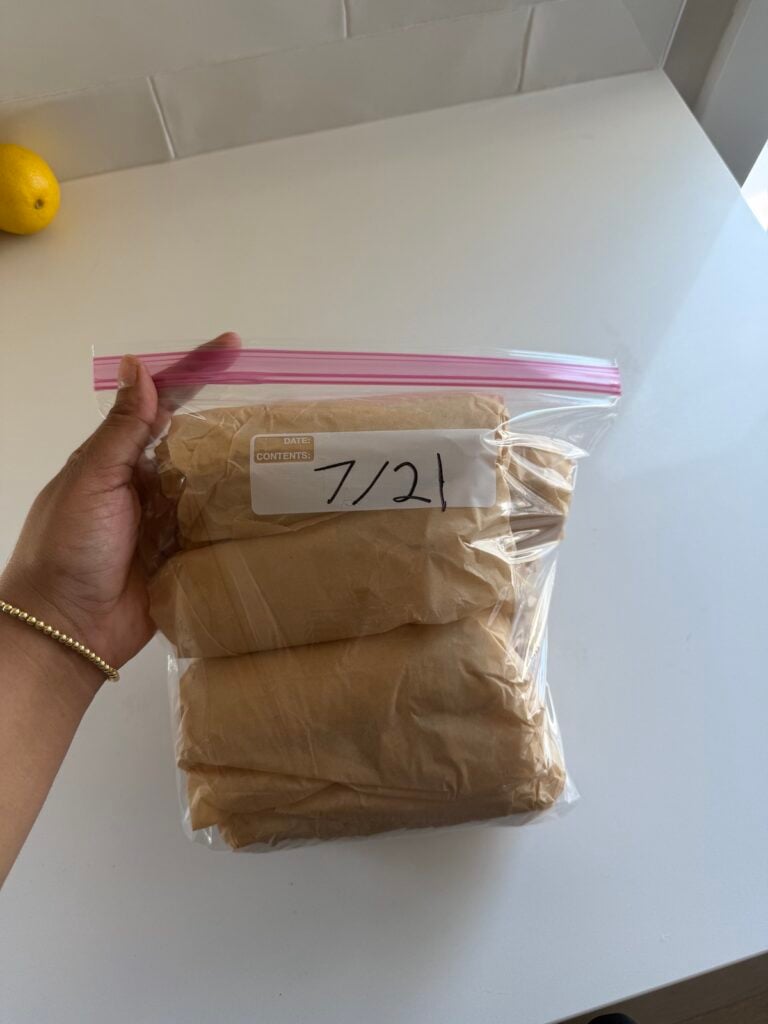
- Freeze: Let the filling cool completely before wrapping each burrito and transferring them to the freezer.
How to Reheat a Frozen Breakfast Burrito
- Microwave from frozen: Keep the burrito wrapped in parchment paper and microwave for 2–3 minutes, flipping halfway through. Continue heating in 30-second intervals until the center is hot.
- Air fryer from frozen: Remove the parchment paper and air fry at 350°F for 12–15 minutes, flipping halfway through. Check that the center is fully heated before serving.
- Oven from frozen: Remove the parchment paper, wrap the burrito in foil, and bake at 375°F for 35–40 minutes. Remove the foil during the final 5–10 minutes for a crispier tortilla.
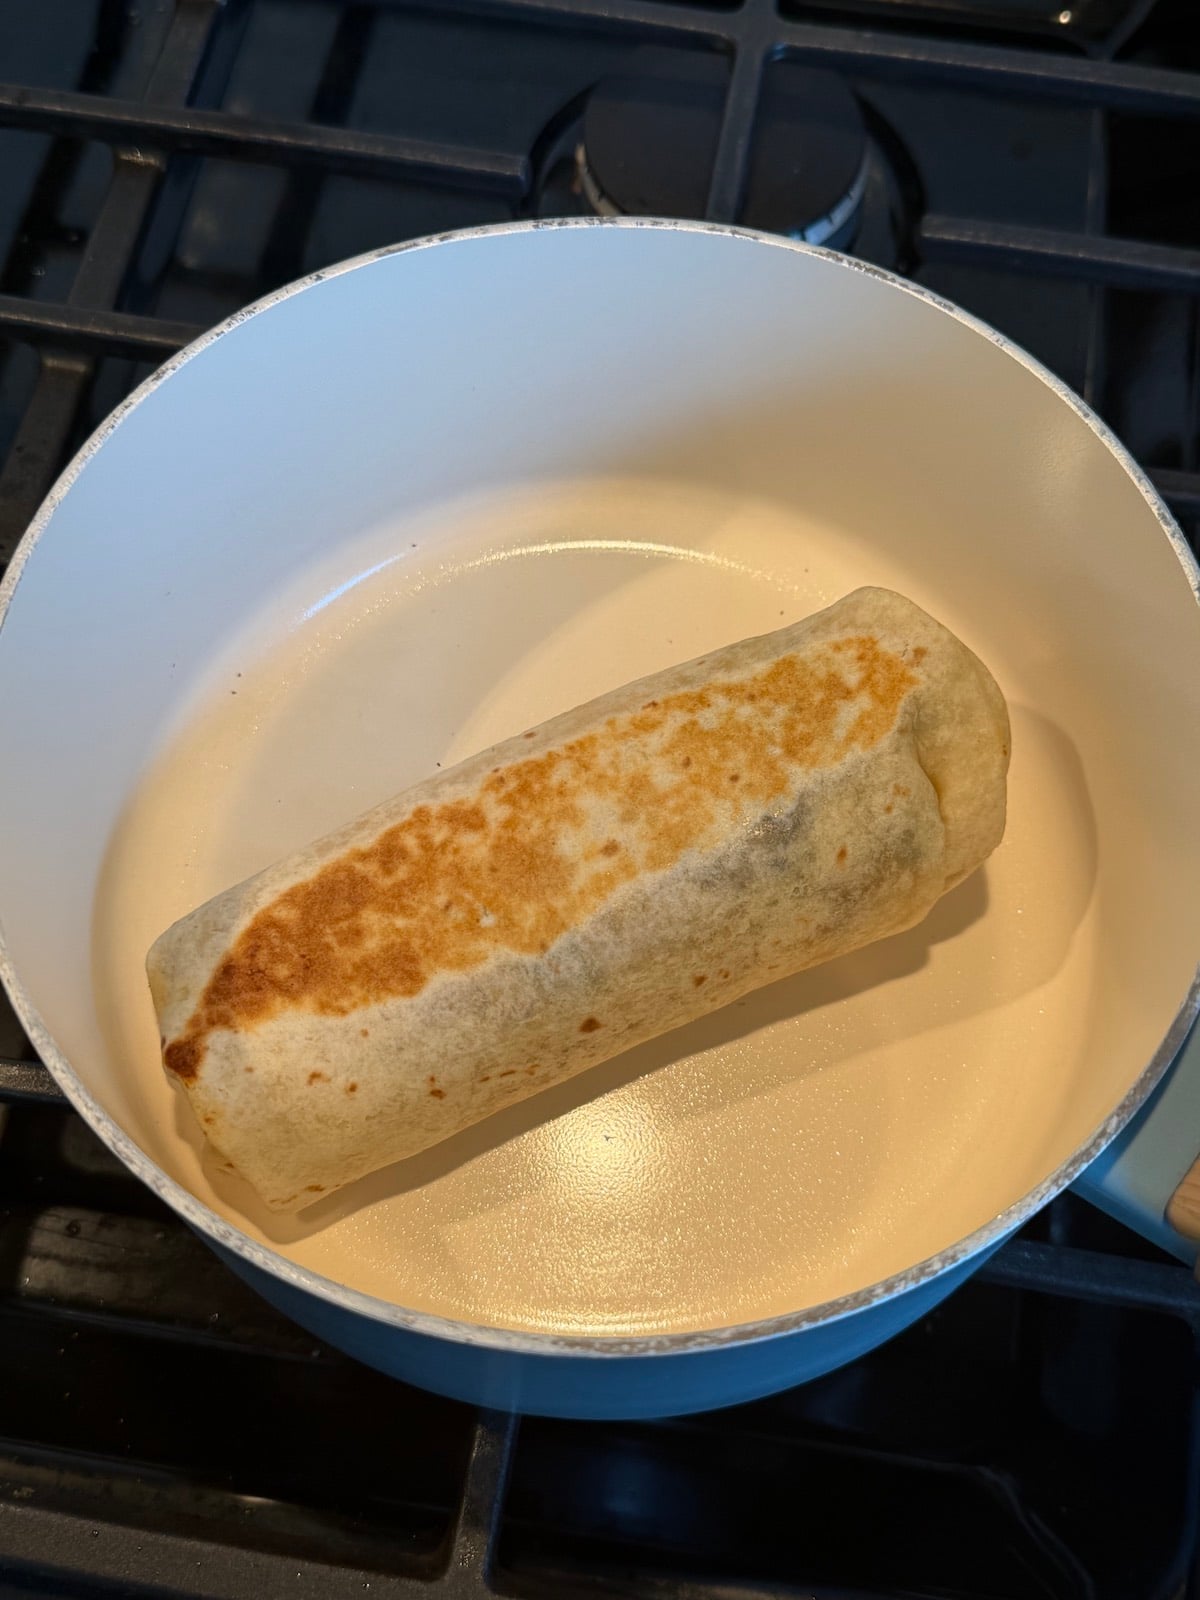
- Skillet after thawing: Thaw the burrito in the fridge overnight. Place the thawed burrito seam-side down in a covered skillet over medium-low heat. Cook for 3–4 minutes per side until the tortilla is golden and the filling is heated through.
Expert Tips
Do not overcook the eggs: Cook them just until set so they stay soft and fluffy after freezing and reheating.
Cool the filling completely: Warm filling creates steam, which can make the tortillas soggy and cause excess ice crystals in the freezer.
Drain and cook off excess moisture: Drain the black beans well and sauté the peppers and onions until any extra liquid has evaporated. This helps prevent soggy breakfast burritos.
Freezer Breakfast Burritos FAQs
Let the burritos cool completely before freezing. Wrap each burrito individually in parchment paper, then place them in a freezer-safe zip-top bag. Press out as much air as possible, seal the bag, and label it with the date.
Allow all of the filling to cool completely before assembling the burritos. Drain the black beans well, cook the peppers and onions until their excess moisture evaporates, and avoid overcooking the eggs. It is also best to leave wet toppings like salsa, sour cream, and avocado out of the burritos and add them after reheating.
For the best taste and texture, enjoy these freezer breakfast burritos within two to three months. Make sure they are wrapped well and stored in an airtight freezer bag to help prevent freezer burn.
No, you can reheat the burritos directly from frozen in the microwave, air fryer, or oven. However, thawing one in the refrigerator overnight will help it reheat more quickly and evenly.
More Breakfast Recipes You’ll Love

Breakfast
High Protein Vegetarian Meals
Breakfast
Breakfast
Please remember to leave a review if you make this recipe! The feedback helps me to become a better cook and develop amazing recipes for you.
King Oyster Mushroom Tacos with Chimichurri Sauce
Ingredients
Chimichurri
- 1 cup loosely packed Italian parsley, finely chopped
- 1/4 cup pickled Fresno red chili peppers, finely chopped
- 7 tablespoons olive oil
- 3 tablespoons red wine vinegar
- 1 teaspoon garlic paste
- 1/2 teaspoon dried oregano
- 1/2 teaspoon salt
King Oyster Mushroom Filling
- 8 ounces king oyster mushrooms
- 1 teaspoon vegetable bouillon paste
- 1 tablespoon water
- 1 teaspoon Cajun seasoning, preferably lower sodium
- 1/2 teaspoon liquid smoke
- 1/2 teaspoon soy sauce, optional
- 2 tablespoons oil
For the Tacos
- 6 small flour or corn tortillas
- 1/2 cup shredded cheese of choice, or to taste
Instructions
Make the Chimichurri
- Combine the ingredients: Add the parsley, pickled Fresno peppers, olive oil, red wine vinegar, garlic paste, oregano, and salt to a small bowl.
- Mix: Stir until everything is evenly combined. Set the chimichurri aside while you prepare the mushrooms.
Prepare the King Oyster Mushrooms
- Shred the mushrooms: Hold each king oyster mushroom firmly by the cap. Drag the tines of a fork down the length of the thick stem to create thin, meat-like shreds. Rotate the mushroom and continue shredding on all sides. Pull apart any thicker pieces with your fingers.
- Make the seasoning mixture: Stir together the vegetable bouillon paste and water until combined.
- Season the mushrooms: Add the shredded mushrooms to a bowl with the bouillon mixture, Cajun seasoning, liquid smoke, and optional soy sauce. Toss until the mushrooms are evenly coated.
- Cook the mushrooms: Heat 2 tablespoons of oil in a large skillet over medium-high heat. Add the seasoned mushrooms and spread them into an even layer.
- Brown until crispy: Cook for approximately 10 minutes, stirring only occasionally, until the moisture has evaporated and the mushrooms are golden brown and crispy around the edges. Transfer the mushroom filling to a plate, leaving any remaining seasoned oil in the skillet.
Assemble and Cook the Tacos
- Add the tortillas: Reduce the heat to medium. Place the tortillas in the same skillet, working in batches as needed.
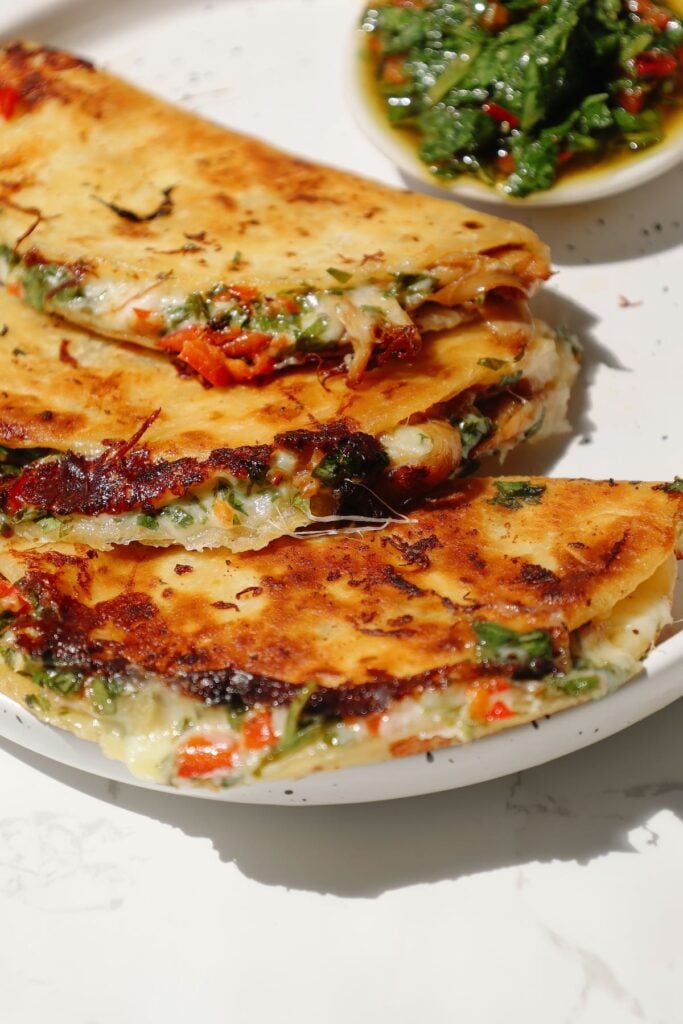
- Add the fillings: Sprinkle cheese over one half of each tortilla. Top with the crispy mushroom filling and a small spoonful of chimichurri.
- Fold the tacos: Fold each tortilla over the filling and gently press it closed with a spatula.
- Cook until crispy: Cook for 2 to 3 minutes per side, or until the tortillas are golden and crispy and the cheese has melted.
- Serve: Serve the mushroom tacos immediately with additional chimichurri on the side.
Notes
Nutrition
Nutrition information is automatically calculated, so should only be used as an approximation.