These Oreo cheesecake cups are the no-bake dessert you make once and then immediately add to your permanent rotation. They’re creamy, chocolatey, layered, and honestly taste like something you’d get from a fancy dessert shop—even though they take less than 15 minutes to assemble. With a buttery Oreo crust, a silky chocolate cheesecake layer, and a light whipped middle, these oreo cheesecake cups make the perfect single-serve treat for parties, holidays, or those nights when you just want something sweet but absolutely refuse to turn on the oven.
And if you’re in the mood for more chocolatey desserts and sweet treats, make sure to check out my chocolate brookie recipe, masala chai tiramisu, or my perfectly chewy chocolate chip cookies!

Why You’ll Love These Oreo Cheesecake cups
Quick & No-Bake: No oven required and no complicated steps — just mix, layer, and chill. It’s the perfect low-effort dessert with a high payoff.
Perfect for Parties: Because they’re individually portioned, these cheesecake cups are ideal for holidays, potlucks, birthdays, and anytime you want a make-ahead dessert that looks impressive.
Great Make-Ahead Option: The cups hold well in the fridge or freezer, making them incredibly convenient for prepping the night before hosting.
Beginner Friendly: No water bath, no cracking cheesecake tops, no special equipment needed. These oreo cheesecake cups just use simple ingredients and guarantee success!

Key Ingredients and Why They Matter
Oreos: The base of the crust and the signature flavor throughout the dessert. Crushing them finely helps the crust hold together, while hand-crushed pieces in the filling add texture.
Earth Balance Butter: Binds the Oreo crumbs and creates a rich, buttery crust.
Cream Cheese: The heart of the cheesecake layer. It adds tang, creaminess, and structure without needing gelatin or baking.
Sweetened Condensed Milk: Adds sweetness and that silky, fudgy texture characteristic of no-bake cheesecakes.
Vanilla Soy Milk: Helps loosen the filling and adds a light vanilla undertone.
Cocoa Powder + Melted Chocolate Chips: These create a deeper chocolate flavor and help the cheesecake layer set as it chills.
Whipped Cream + Chocolate Sauce (for garnish): Gives a creamy finish that balances the rich cheesecake layer. If you’re feeling fancy, top it off with my 2-ingredient homemade chocolate ganache!

How to Make Oreo Cheesecake Cups
- Crush Oreos and combine with melted butter to form the crust.
- Blend cream cheese, condensed milk, soy milk, cocoa powder, and melted chocolate until smooth.
- Fold in hand-crushed Oreos to add texture.
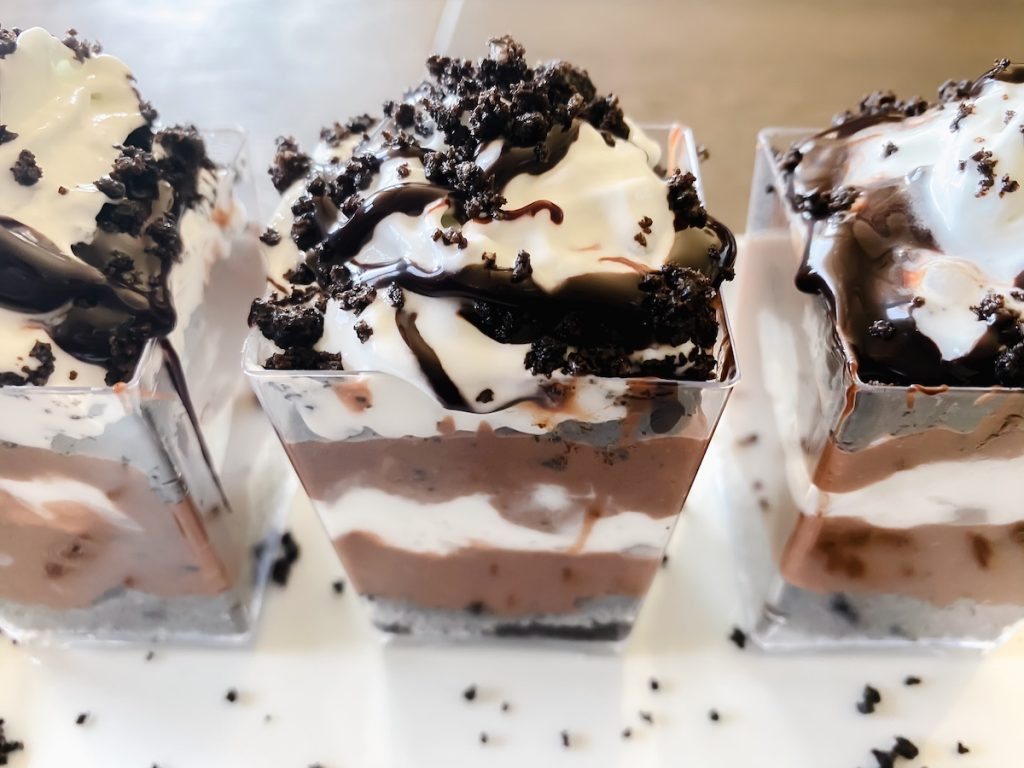
- Layer crust → cheesecake filling → whipped cream → more filling in dessert cups.
- Freeze overnight for a firm cheesecake texture or refrigerate for a pudding-like consistency.
- Garnish with whipped cream, crushed Oreos, and chocolate sauce before serving.
A more detailed description of the method is provided below in the recipe card!
FAQ
Yes! They’re perfect for make-ahead desserts. Freeze or refrigerate them and add toppings right before serving.
The cream cheese was too cold. Let it soften before mixing and whip well to smooth it out.
Serving Suggestions:
If you love fun, indulgent desserts, these Oreo cheesecake cups pair perfectly with several treats on my site. Serve them alongside my strawberry pudding, tiramisu cookies, or apple crumble for a full dessert table that feels both cozy and elevated.
For parties, stack these cups next to my s’mores cookies or salted caramel cheesecake cookies. They also make an amazing treat to enjoy with a cup of dalgona coffee or masala chai.
Please remember to leave a review if you make this recipe! The feedback helps me to become a better cook and develop amazing recipes for you.
Oreo Cheesecake Cups

Ingredients
Crust
- 12 Oreos, crushed in a food processor
- 3 tbsp Earth Balance Butter, melted
Oreo Cheesecake Filling
- 3 tbsp Cream Cheese
- 1/4 c Sweetened Condensed Milk
- 4 tbsp Vanilla Soy Milk
- 1 tbsp Cocoa powder
- 1/4 c Melted Chocolate Chips
- 3 Oreos, roughly crushed by hand
Garnish
- Whipped Cream
- Chocolate sauce or my homemade chocolate ganache, see note below
- Oreos , roughly crushed by hand
Instructions
- Make the crust: Crush 12 Oreos in a food processor until fine. Add melted butter and mix until the crumbs are evenly coated and resemble wet sand.
- Mix the cheesecake filling: Add cream cheese, sweetened condensed milk, soy milk, cocoa powder, and melted chocolate chips to a bowl. Blend with a hand mixer until smooth and creamy.
- Fold in Oreos: Gently fold in hand-crushed Oreos for texture and authentic cookies-and-cream flavor.
- Assemble the cups: Add a spoonful of crust mixture to each dessert cup and press down gently. Add cheesecake filling to halfway, top with a layer of whipped cream, then add another layer of cheesecake filling.
- Chill the cups: Freeze overnight (or for at least 6 hours) for a firm cheesecake texture or refrigerate if you prefer a soft, pudding-like consistency.
- Garnish: Before serving, top with whipped cream, extra crushed Oreos, and a drizzle of chocolate sauce or my homemade chocolate ganache.
Notes
Nutrition
Nutrition information is automatically calculated, so should only be used as an approximation.